Showing posts with label soup. Show all posts

Tuesday, April 2, 2013

Creamy Sage Rutabega Soup (Paleo)

I hope everyone had a happy Easter Sunday! I actually had the weekend off, so I got to enjoy being with my hubby and his family. Most of my family is out of the country right now, so I was not able to see them. We had a pretty packed weekend; going to a wedding and a fundraiser dinner for a local clinic that does indigent care. We had a blast getting all gussied up in our best evening wear and hitting the town every night.

Unfortunately, Friday night I started to feel a little on the sick side. My throat started hurting, which quickly progressed to a lovely sinus headache, which then became a nasty cough. The only thing I wanted to eat this weekend was something warm and savory.

My need for comfort food finally forced me into making something I have been wanting to make since my trip to Portland, Maine in the fall. We went to this FANTASTIC restaurant called Duckfat when we were there. Let's just say after I tasted my appetizer I proudly announced to the table, "if the chef and I made babies, we would have the most famous culinary children in the world," which then led to a hot debate on artificial insemination that ended poorly.

ANYWHO, the food was fantastic to say the least. The most famous item at this restaurant was the fries fried in duck fat. They also had a variety of sauces to dip the fries in. The sauces were stellar! Like I said, the chef and I were totally on the same palate train!

The appetizer that I had that really blew my socks off was a Sage Rutabega Soup. The tastes were perfect, from the salty bacon, to the savory and sweet spices of cinnamon, nutmeg, and sage, to the bitterness of the rutabaga, to the creaminess of the whole thing. Yep, it was perfect. I was so intrigued that I asked the waiter how the dish was made. He went back to the kitchen to give me the full report. We mentioned what ingredients were in the dish, and I just knew I had to come home and try to recreate it!

This is what I did....

Juju's Creamy Sage Rutabega Soup


Ingredients:
2 rutabega, ends sliced off and peeled then cubed
4 strips of bacon, sliced
1 yellow onion, chopped
5 large cloves of garlic, minced or pressed
1/2 cup white wine (I used Chardonnay)
4 cups chicken broth/stock
1 1/4 tsp nutmeg
1 3/4 tsp cinnamon
1/4 tsp ground ginger
~3 tbsp packed fresh sage, rolled and sliced
~1 tbsp fresh thyme leaves
1 cup coconut milk creamer (SO brand is what I use)
Salt and Pepper to taste


Directions:

Get all our ingredients chopped up and prepared. If you prepare before you begin cooking, you won't overcook your food while you are trying to chop something up.


 Get out your dutch oven (or whatever you make soup in will work). Turn your stove onto medium heat. Be patient and wait for the pot to actually heat up before adding your ingredients.

Once your pot is warm, add in the sliced bacon. Ahhh! Nothing better than the smell of bacon!


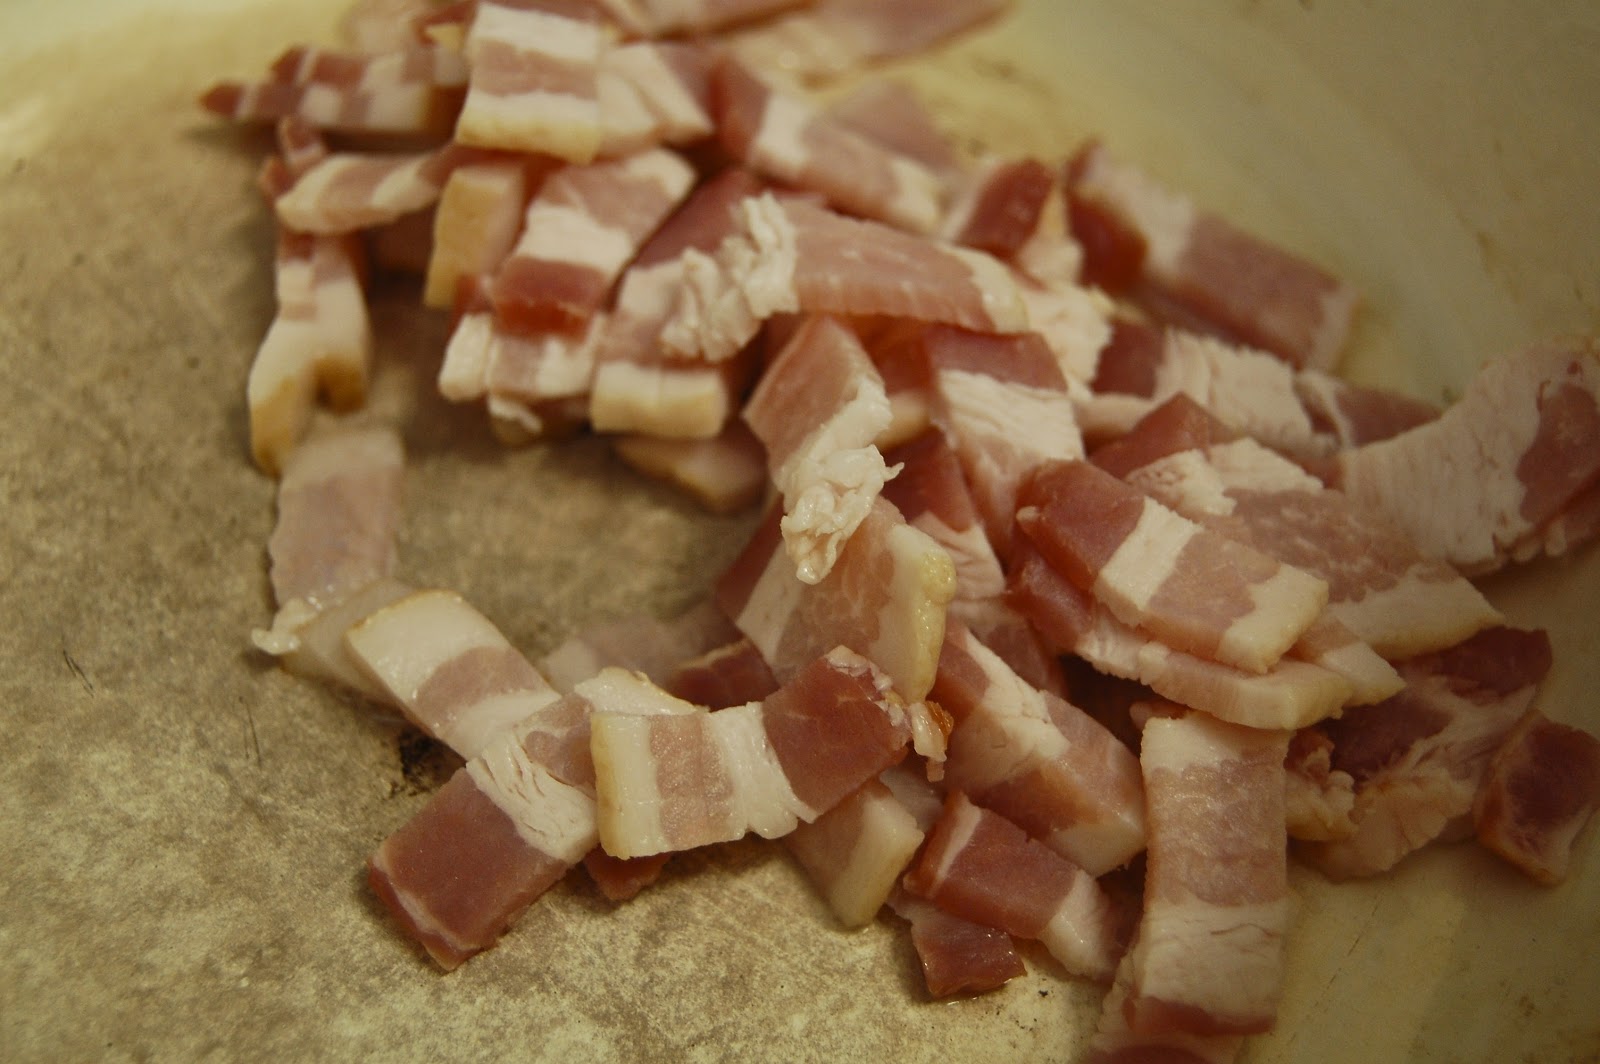
Let your bacon brown up. Make sure they don't burn! We want the pieces to be nice and crispy, but not burned! You will notice that as the bacon browns, you will get a nice brown film to the bottom of your pot. Leave it there! We will use this "secret" ingredient in a second!

Once your bacon is nice and crispy, remove ONLY the bacon from the pan, leaving as much oil behind as you can. I put my bacon on a plate with a paper towel to let the oil drain off the bacon pieces.

Once you have removed the bacon ONLY from the pan, add your onions to that bacon fat! Then add your garlic. Your pot is going to be hot at this point so you must stir up your onions and garlic to keep them from getting too brown at once or sticking to the bottom of your pot. Don't let your garlic burn or stick to the bottom! It will make it bitter and yucky!
As you stir, enjoy one of the most delightful scents in the world - onions. garlic. bacon fat. YUM!

At this point you can add some salt and pepper. My methodology with salting and peppering is when you add something to the pan, add a little more of both. If you start early, you won't be behind on the salt and pepper train once your dish is cooked. If you are uneasy about your salting and peppering abilities, save it for last, as you can add a little at a time to your own taste, without overdoing either.


Without burning either your onions or garlic, brown these delicious morsels until they are a nice golden brown and soft (see photo above). Turn down your heat a little. 
Once you reach this phase, add your white wine.
Some sizzling is going to happen at this point!
Stir, stir, stir. Turn your heat down so that your wine is simmering, not boiling.
See that brown film on the bottom of my pot in the photo above? Remember how I said that this film was important? After you add your wine, you are going to "deglaze" your pot. Use your spoon/spatula to scrape all that crap off the bottom of your pot. This stuff adds a lot of flavor to your food. The more flavor, the better.
Let your wine simmer for a few minutes.
Then add your cubes of rutabega.


Add some more salt and pepper at this point (if you want). Let your rutabega sit in your wine hot tub for a few minutes, stirring occasionally. 
Then, add your chicken stock. 4 cups is equivalent to one of those boxes in the store.

Cover your pot and bring your liquid to a boil. This might take awhile.

Once your rutabegas are boiling, add all your spices and stir it up. Cover again and let it boil until the rutabagas are fork tender. Add salt and pepper to taste.

Once the rutabagas are tender, you can now make a decision based on what equipment you own.

1. You can eat as is.
2. You can use a hand blender in your pot to make soup creamy.
3. You can put several portions of the soup into a blender to make it creamy.
4. You can add several portions to your food processor to make it creamy (this is what I did).

Once you pulverize your soup, add in your coconut milk creamer.
If you do not eat Paleo or do not care to eat Paleo, you can sub the coconut milk creamer for heavy whipping cream or half and half. However, the coconut creamer is actually not bad for you.
If you do eat Paleo, you can sub creamer for regular coconut milk in the can. If you want the soup to be thick and creamy, use the top of the cream and not the watery part.

After you make sure the soup is heated through after adding your cream, you are done!

Serve in bowls. Top with your bacon bits and extra sage!

Enjoy!!

And for your viewing pleasure...


Me crankin' out some garlic! Photo courtesy of my favorite taste tester who loved the soup! :)


Thursday, October 27, 2011

Not Yo' Mama's B-Nut Squash Soup!

THE BUTTERNUT SQUASH
Now that it is fall, we all want to feed our faces with our favorite fall foods. Soups, stews, and pot pies, are now what dances in our heads when it is dinner time.
Also, for some reason, we want to eat anything that is pumpkin flavored.
Pumpkin donuts, pumpkin cupcakes, pumpkin coffee, etc.

Recently, the grocer man has been giving us some alternatives to just cooking with
cans of pureed pumpkin.
He has been busy stocking up some butternut squash!

(F.Y.I. My favorite farmer/my farming mentor once told me that all pureed pumpkin from a can is..... is BUTTERNUT SQUASH! Who would have thunk?)

Anyways. I have been craving some butternut squash soup. Instead of using a recipe from online, I just thought I would try whipping some up on my own! Besides, it gave me an excuse to use one of my most favorite things in my kitchen...

THE DUTCH OVEN
Isn't she perrrtyyy?!

So, I got to business this morning. As follows is the recipe and what I did to make this fab soup!

Juju's Butternut Squash Soup

Here's what you're going to need...

EVOO (extra virgin olive oil -> for those of you who have been living under a rock)
1 large butternut squash, peeled and chopped into bite-sized cubes
1 yellow onion, chopped
3 large or 4 small cloves of garlic, minced
1/2 granny smith apple, chopped (I am sure another kind would be fine if that's what you got)
1 tbsp fresh thyme, finely chopped
1.5 tbsp butter
1/2 cup brandy
4 cups chicken stock/broth (a carton)
2 roasted red bell peppers (the ones in the jar)
1 carton SO Delicious Coconut Milk Creamer (make sure it's the ORIGINAL kind)
Nutmeg
Cinnamon
Cayenne Pepper
Salt
Pepper


First off, I got all my veggies chopped so that I could be ready. Don't worry about chopping everything perfectly, it's not worth it in the long run. We are going to puree this in the end.

After getting everything cut up and peeled, I got my dutch oven out, drizzled some EVOO liberally in the bottom, and turned my stove on to medium heat.

Once the oil has had a chance to heat up, add garlic. Let it simmer in here until it gets yummy smelling. This takes about a minute. Stir while it's sizzling, you don't want the garlic to burn.
Next, add the onions. Stir this stinky combination until onions are soft. This may take a few minutes. Again, don't let the garlic burn!
Now add the butternut squash. Stir the mixture up a bit. This is where I let everything sit and mingle. I put the lid on for a few minutes before checking on them. Occasionally take your lid off and stir. The squash should release some juices, so you don't have to worry about burning the food. Let this cook so the squash can soften up a bit (about 10 minutes).
Now add your butter, apple chunks, and thyme.
Keep on letting everything sit and mingle, stirring on occasion. While my pot was cooking up, I was making myself busy with other things. Don't worry about it too much!
After a little bit of time, this is what my mixture looked like.

Once everything is soft and mushy, add some cinnamon. I added 2 pinches at this time, but then I added 4 more pinches at the end for taste. Also, add salt and pepper in there according to taste.
Once you add your cinnamon, this is when you start smelling those apples! Sooo good!
Using a microplane, grate your fresh, whole nutmeg to where the mixture is dusted with yummy nutmeg powder. Nutmeg is always a great secret ingredient.
Now that your pot is smelling like fall, add your brandy.
Let the brandy coat your mixture as the alcohol burns off. Also, make sure you're scraping the bottom of your pot at this time. Get all those yummy crumbs that are stuck to your pan!
Once you give the brandy a few minutes to burn off (your liquid should just about reduce in half), add your chicken stock. Once you've added your stock, put the lid on your pot and go find something else to do! You want your soup to come to a boil, and this might take a few minutes.
Once you get your soup mixture up to a boil, let it stay there a little bit. Add your roasted red bell peppers at this time.

I know, it's not the most beautiful looking creation, but it gets better from here. If you have a food processor or blender, follow my instructions from here on out. If you have a hand held blender, you can use that right in your soup pot!
Once everything is nice and steamy and boiling, dump your soup into another vessel. I used my large mixing bowel from Pampered Chef. If you use something that is glass, it might crack, so be careful! This is some hot soup!
Get our your food processor/blender. I used the biggest blade for this job. Using a ladle, fill up your food processor about 1/3 of the way with your soup.

Let her rip!
Turn on your food processor until WELL pulverized!
If done correctly, your soup should now look like baby food/applesauce.
The more you blend, the better the texture of the soup will be.
Once your first round is done, dump your baby food back into your original soup pot.
Repeat until all soup is pulverized and back in your original pot.
Here is what your baby food should look like...

Almost there!

Okay, this is when I started to add my spices to taste and add my creamer. Once I got to this point, I had only added 2 pinches of cinnamon. When I say a pinch, I literally mean a pinch (between your thumb and index finger, people).
At this time I added a total of 4 more pinches of cinnamon and about half the amount of cayenne pepper. I would guess about 1 tbsp cinnamon and 1-1.5 tsp cayenne pepper in all. This is also based on personal taste! I like spicy, but you may not, so add a little at a time, stir it up and taste it. You will know when it is just right!
I also started whisking in my coconut milk creamer at this time. This is to help the soup be creamy, instead of baby food texture. I used almost a whole carton of this stuff. I think it is a pint of creamer. I used coconut creamer instead of whipping cream because of that whole Paleo diet thing... you can use whichever, but the coconut creamer is WAY better for you.
Whisk the creamer into your soup until...

VOILA!

You did it!! You're done!!

The final product is beautiful and delicious! Would make a great appetizer or side item to any meal! Especially on a chilly evening!

Hope you try it and love it! I know I did!